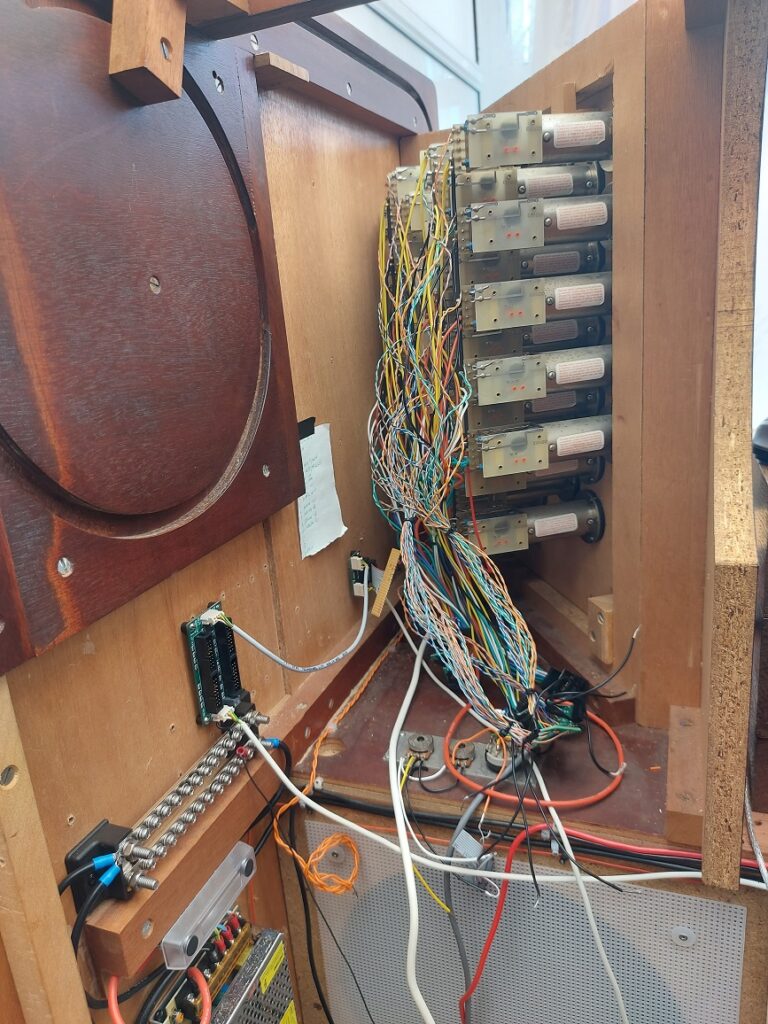
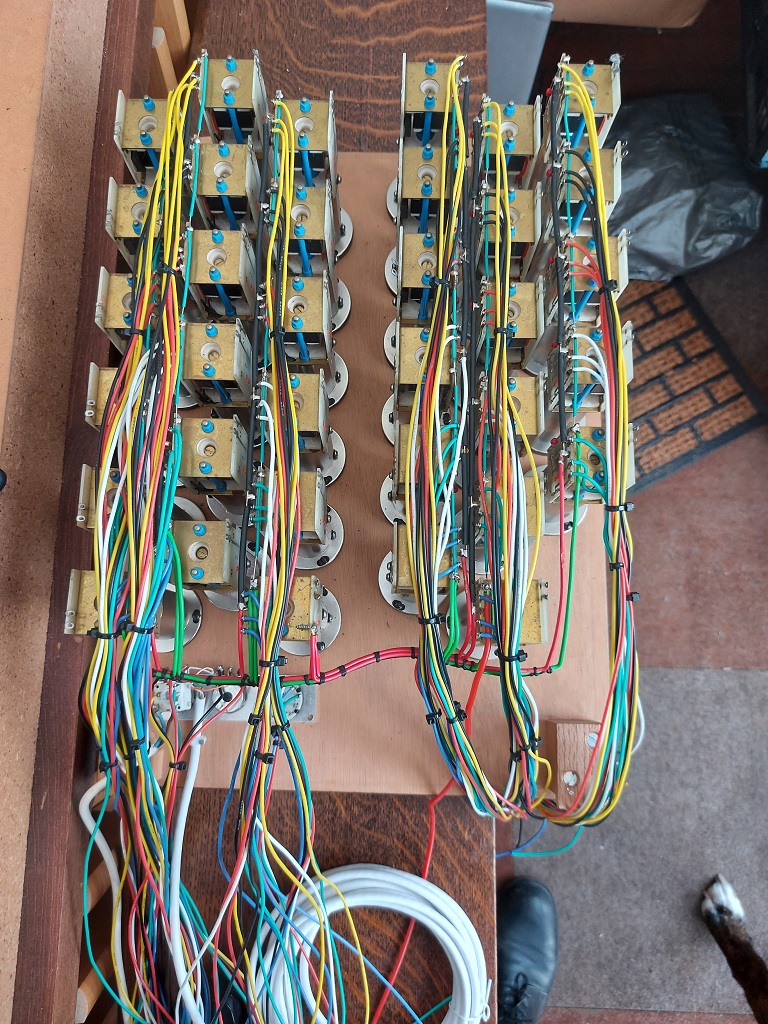
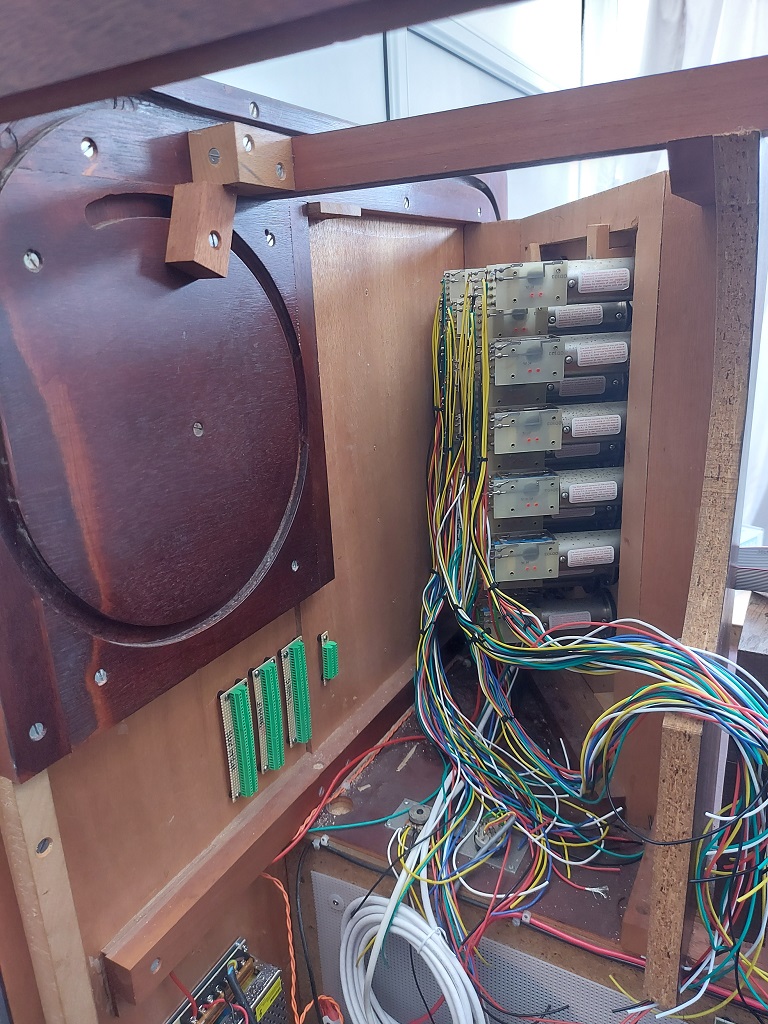
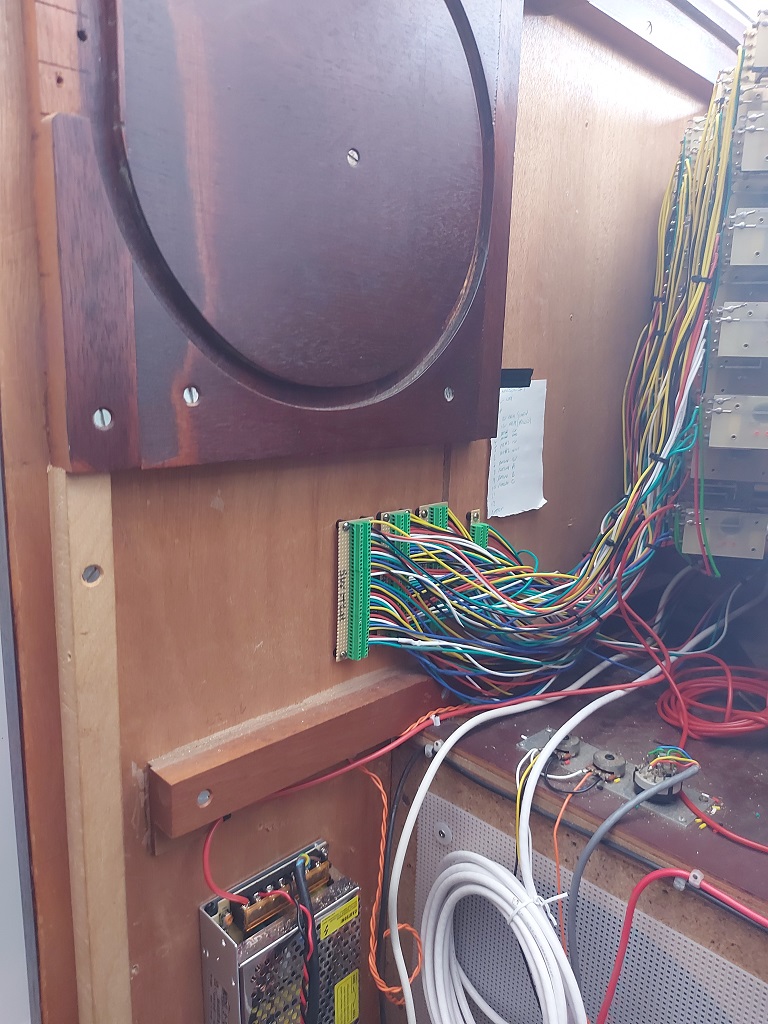
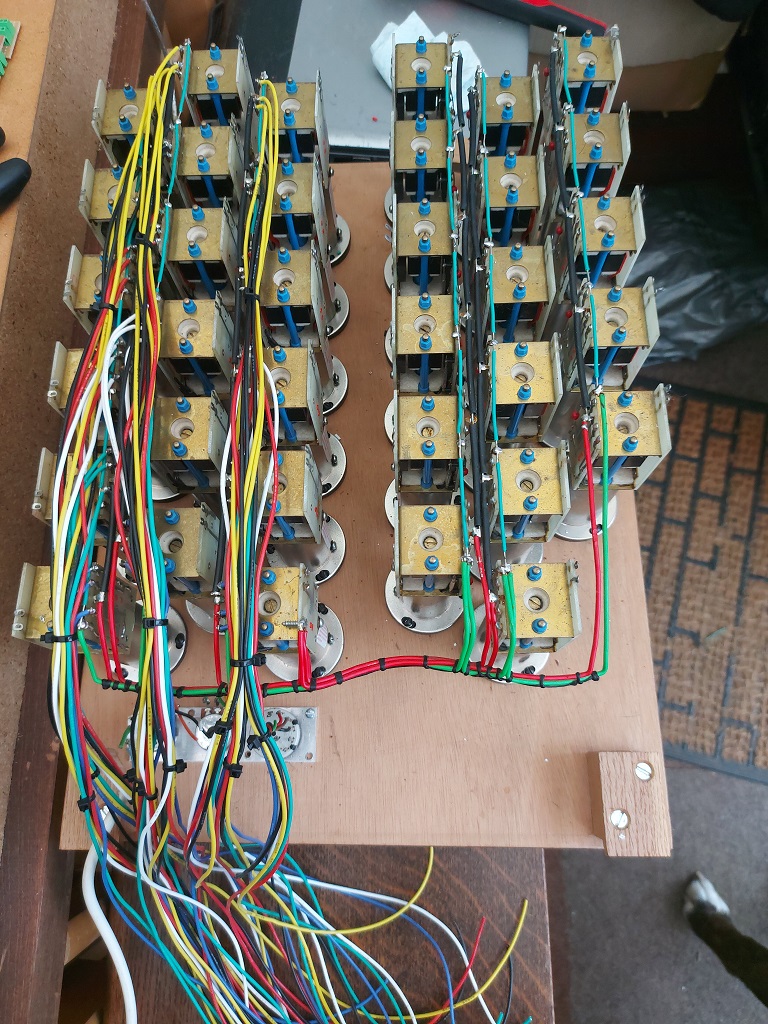
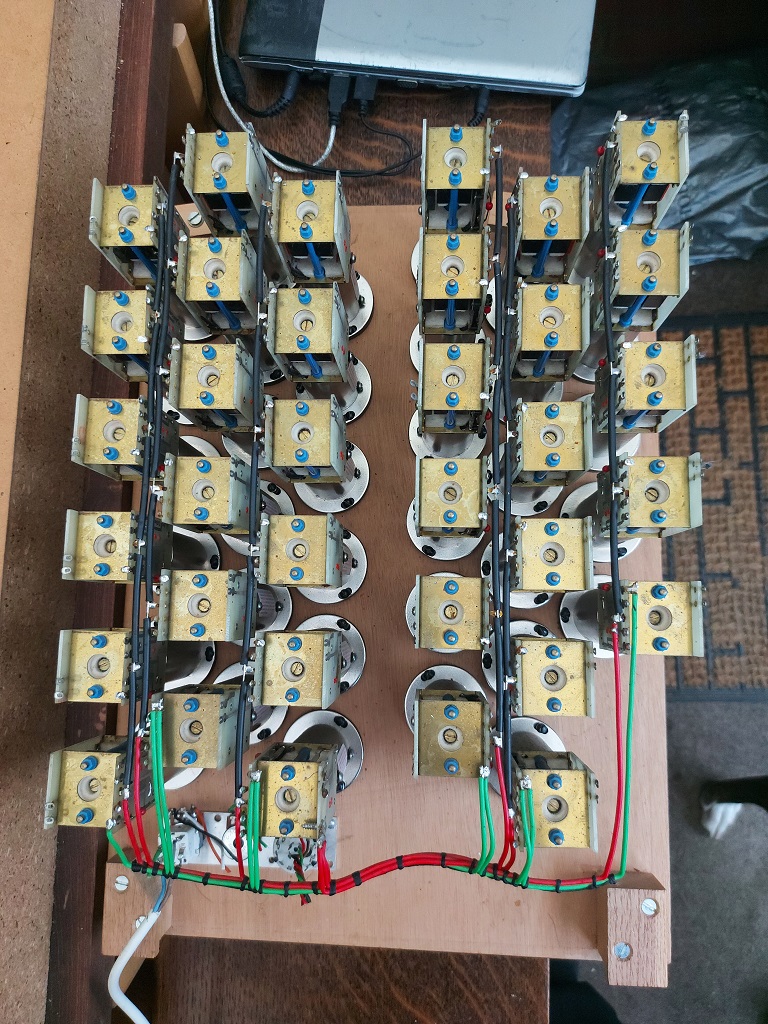
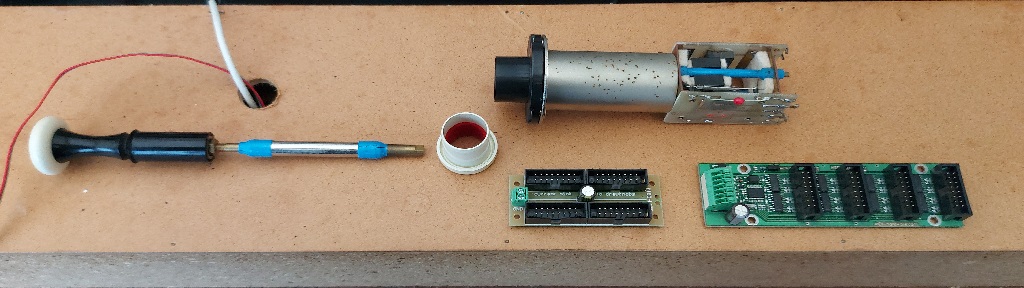
I shudder to think how many times I have removed and re-inserted the stop jamb into the console, and my mind shies away from the enormity of the number of times I have re-soldered connections. But… it might now be complete (subject to final testing). The (new) pots and rotary switches are all working. The reed switches are all working. The SAMs were working, but who knows if they still are? I will test them this evening.
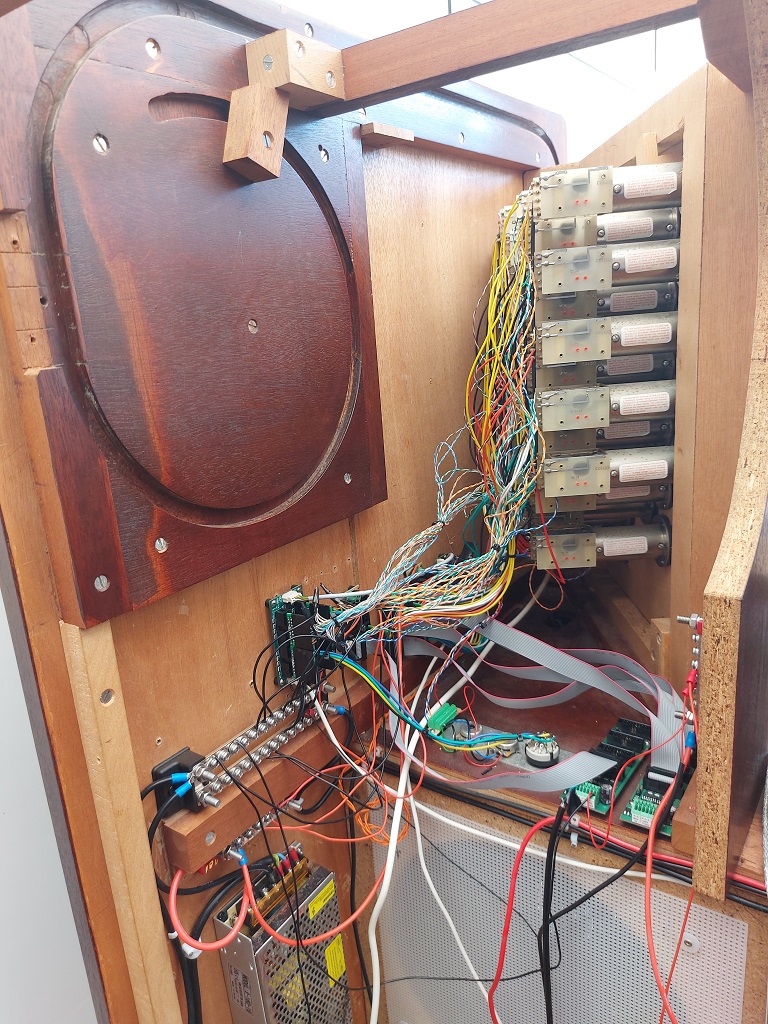
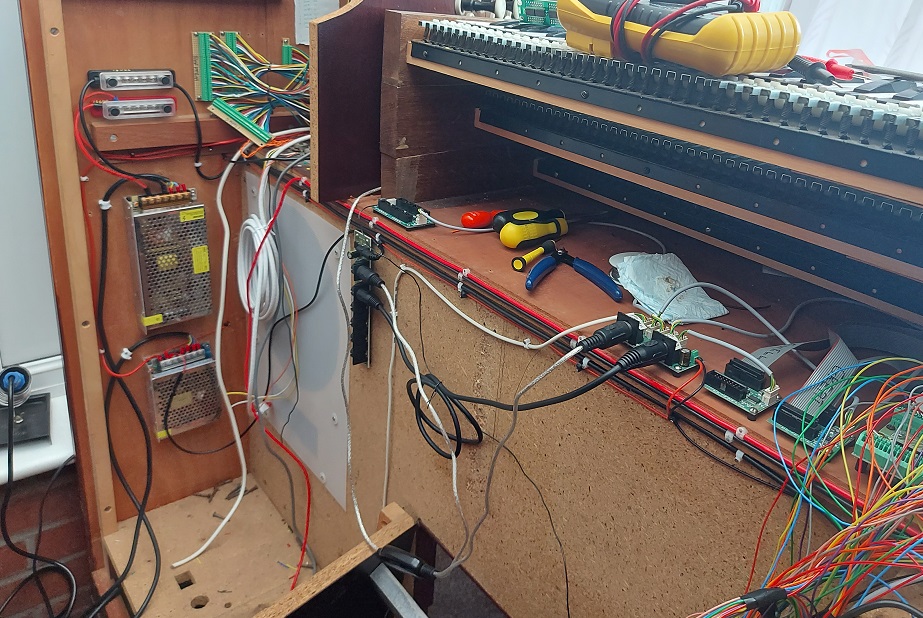
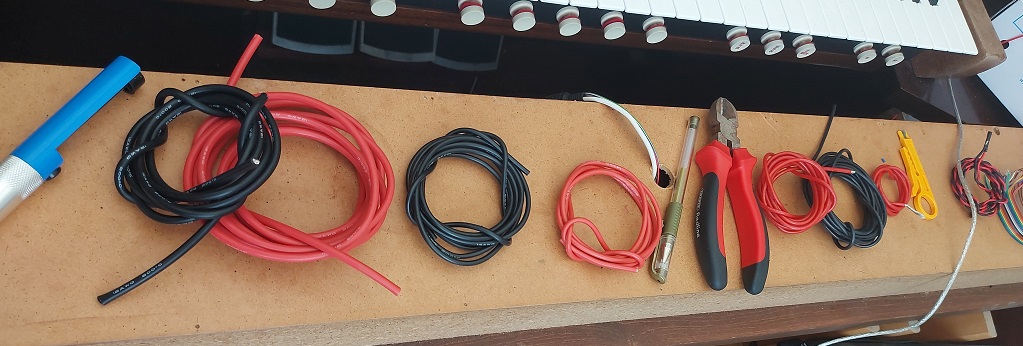
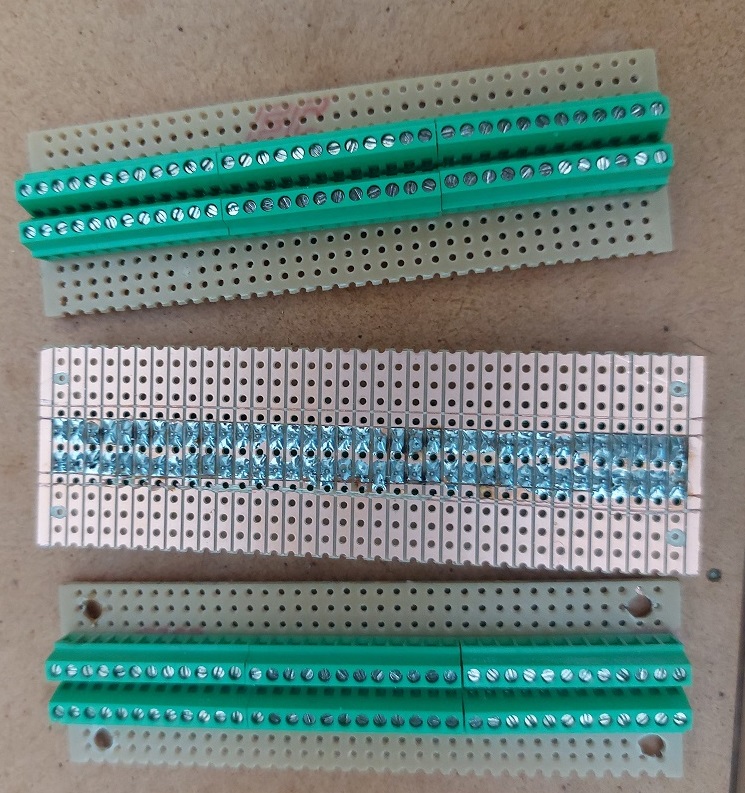
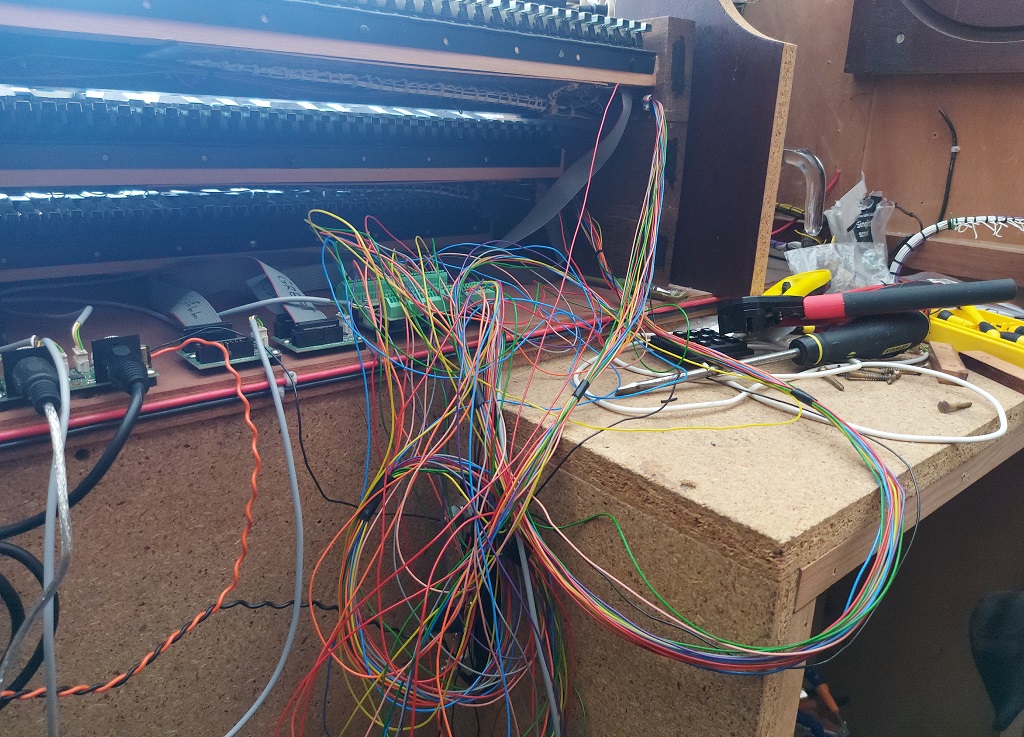
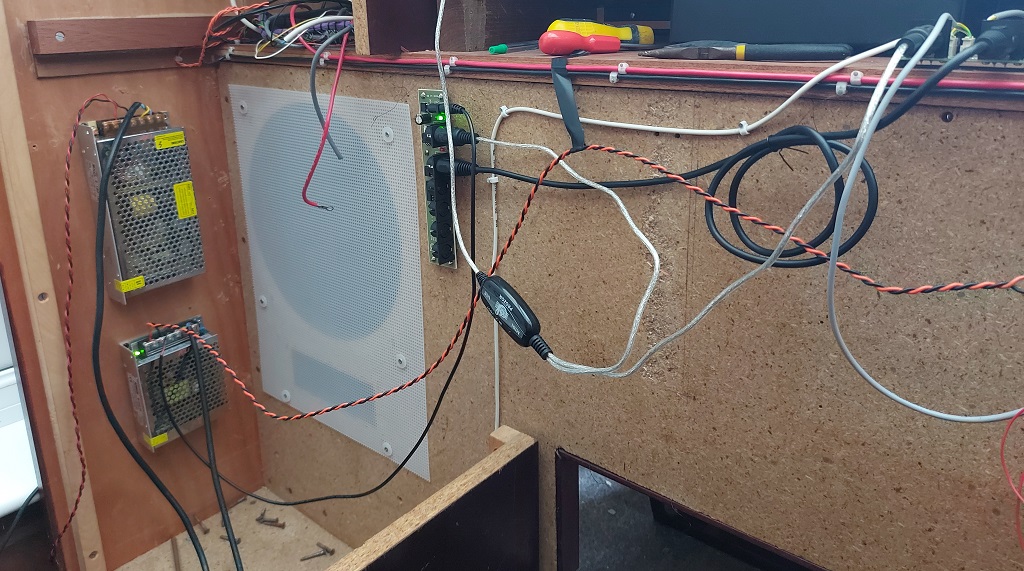
The once-neat power runs are a mess again, due to further modifications. I needed a 12VDC busbar for the various things which need that kind of power. I will need a similar busbar on the other side of the console, when I get to it. The GND needs extending over there as well. That is all a headache for another day. At some point, assuming the SAMs are functional, I will have to order Yet More Wire to start wiring up the left jamb. Hopefully, having made all my mistakes on its sibling, this will go easier. (I’m assuming nothing.)
Still need to reattach the toe pistons when David has finished putting them together, and I also need his help to fix a couple of stiff drawstops.
Onward and sideways, as they say.