I am not, for one moment, suggesting that the current strict rules on isolation should be ignored. Far from it: as someone who lives with a medical condition that puts me in an “at risk” category, the current pandemic is causing me more than a little worry. The only truly effective method to halt a virus in its tracks is to remove its access to hosts, which means that – if governments around the world are sensible (hah!) – the quarantine and distancing protocols should remain in place for several weeks, even months, to come. I’m slightly concerned by Spain’s decision to relax some of the restrictions: I hope this decision has been taken on the basis of sound evidence, and that it won’t turn out to have been too soon.
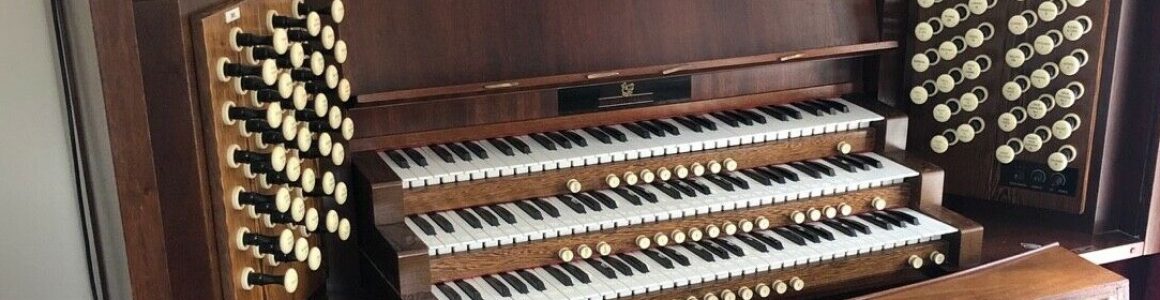
But on the other hand, my plans are frustrated on many fronts. I need to do some work on the bathroom of the new house, but a plumber needs to work some magic first. I need to redecorate the bedroom (I have Plans), but I need the services of an electrician before I can start. And then there is the organ.
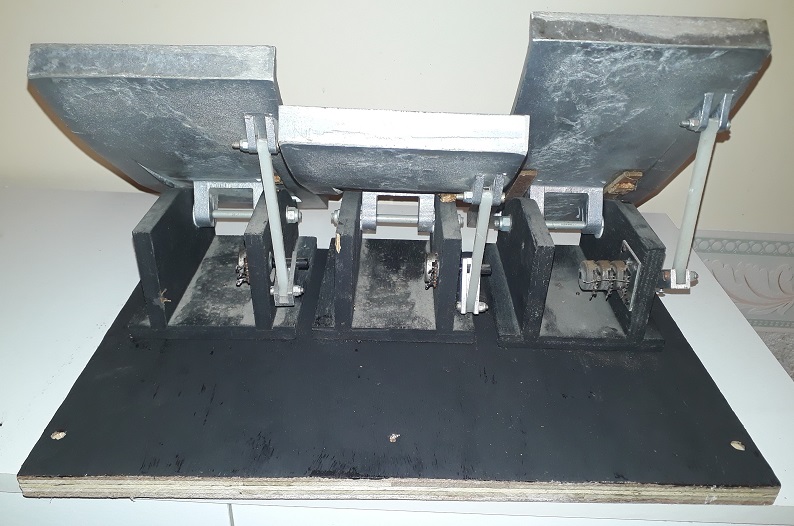
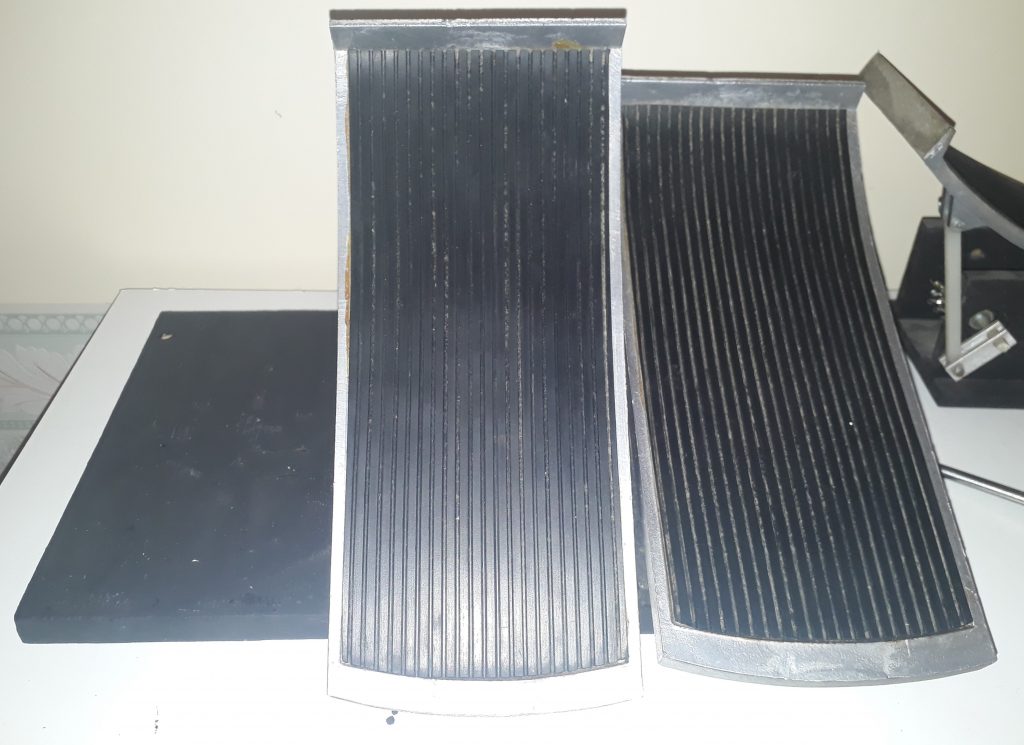
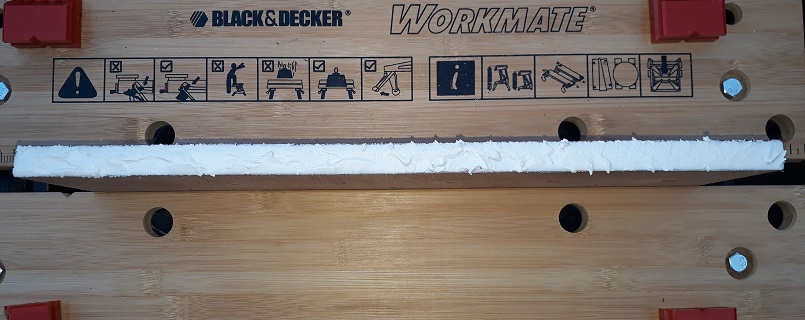
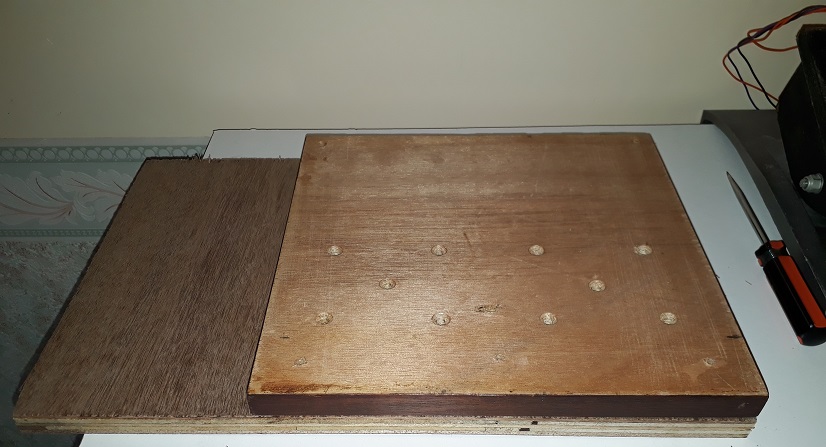
Fortunately, I have been able to get hold of some of the items I need to make progress. Presumably there are small businesses still operating out of people’s garages and sheds, and still able to sell on eBay and Amazon. I’ve received some excellent wood stain and some headless nails, and am expecting to receive some right-angle hardwood moulding, brown wax, and varnish, later this week. I have cut and stained a nice piece of hardwood (supplied by David) that will be attached to the lip of the expression shoes base board once it has been waxed and varnished. I think I will be able to match the colour of the console almost exactly.
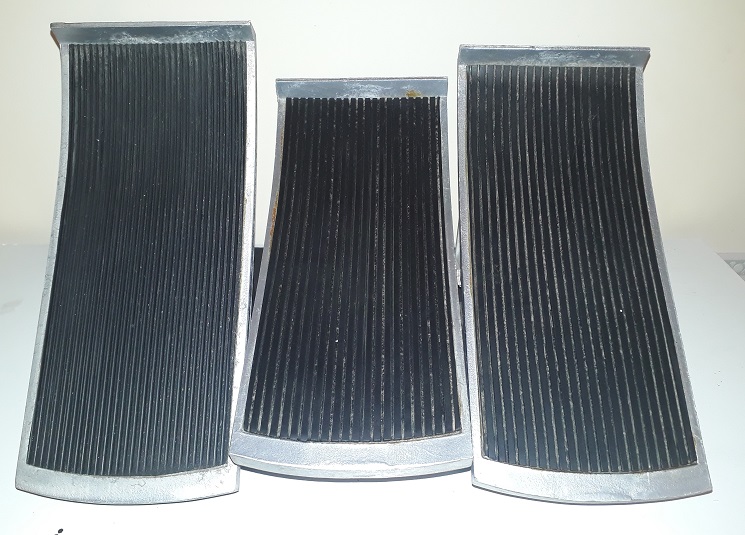
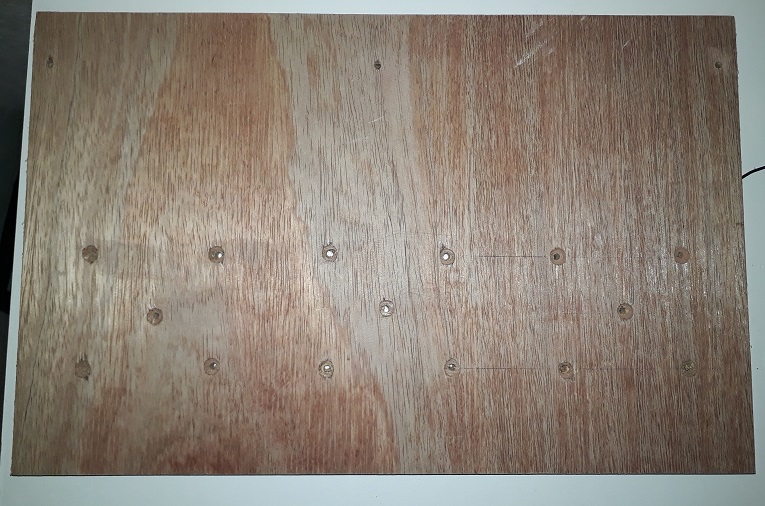
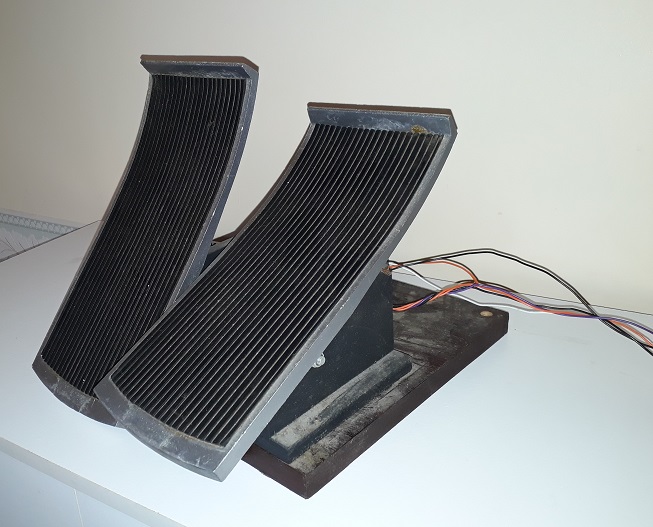
Once I’ve stained, finished and fitted the moulding around the hole in the knee board, I will be able to re-fit it and then affix the expression shoes. It’s time to start putting things back together.
I also bought some new socks, which pleased me greatly. I have embraced middle-age.